
REVIEW · KILIMANJARO RONGAI UMBWE AND SHIRA ROUTES
Kilimanjaro climb, Kilimanjaro Crater route (10-day)
Starry crater nights beat the usual mountain sunrise. This 10-day Kilimanjaro Northern circuit plan adds a rare crater camping element with glacier views from very high camps. I also like the practical safety net: unlimited oxygen and oximeters, plus medical check-ups at least twice a day, built into the rhythm of the climb. The trade-off is real, though, crater sleep is a tougher, higher-risk move that demands honest self-knowledge about fitness and high-altitude experience.
What makes this route appealing is how it’s paced. You get multiple days of gradual altitude work before the summit night, and the itinerary keeps you moving without constant steep hits. One thing to consider upfront: you will spend long days on your feet, and the real danger comes near the end, when fatigue makes descent mistakes more likely.
In This Review
- Key highlights worth knowing before you go
- Why the Northern Circuit With Crater Camping Feels Different
- Price and Logistics: What $6,466 Buys You in Tanzania
- Day 1 in Moshi: Airport Arrival and Aishi Machame Hotel Reset
- Day 2: Londorossi Gate to Shira 1, Above 2,200 m to Camp
- Day 3: Shira 2 and a Lava Tower Acclimatization Walk
- Day 4: Lava Tower to Moir Hut, Where the Route Gets Bumpy
- Day 5: Northern Circuit Around the Slope, Long But Easy
- Day 6: 3rd Cave Camp and the Rongai Connection
- The Big Decision Phase: Crater Camping and Summit Night Readiness
- Day 7: School Hut Summit Camp to the Uhuru Peak Goal
- Day 8: Midnight Start, Glacier Steps Option, Then Down to Millennium Camp
- Day 9: Millennium Camp in Rainforest, Final Descent to Mweka
- Day 10: Hotel Rest and Airport Transfer
- What the Included Crew and Medical Setup Really Means for You
- Who This Trek Suits Best, and Who Should Rethink It
- Should You Book This 10-Day Altezza Kilimanjaro Plan?
- FAQ
- What safety support is included on this Kilimanjaro trek?
- Are airport transfers and hotel stays included?
- Is this a private climb?
- Do I need my own sleeping bag and other personal gear?
- Are meals and drinks included during the trek?
- Can I cancel for a full refund?
Key highlights worth knowing before you go
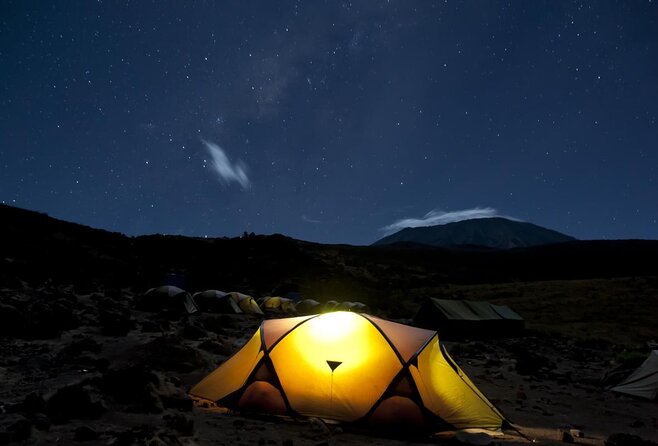
- Crater camping on an extended Northern circuit plan for a once-in-a-lifetime high-altitude night under clear skies
- Unlimited oxygen tanks and oximeters with medical checks at least twice a day
- Low-drama acclimatization days around Shira, Lava Tower, and the northern slope
- A guided summit structure with one guide per two climbers for health monitoring during the Uhuru Peak push
- Descent safety emphasis, since most accidents happen while going down
- Comfort-for-camp logistics like North Face VE-25 tents, sleeping pads, and camp gear included
Other ways up Kilimanjaro we reviewed
- Kilimanjaro climb by Lemosho Route (7-day)★ 5.0 · 651 reviews
- Kilimanjaro climb, Machame Route (7-day)★ 5.0 · 262 reviews
- Kilimanjaro Climbing Lemosho Route 8 Days.★ 5.0 · 186 reviews
- Climbing Kilimanjaro – Machame Route★ 5.0 · 170 reviews
Why the Northern Circuit With Crater Camping Feels Different
Most Kilimanjaro routes fight for your time. This one focuses on your altitude. The Northern circuit is described as the longest and newest route, with excellent acclimatization and views of Kilimanjaro’s northern slopes. There’s also a special point here: the program includes an overnight crater camping experience, which adds a whole new level of awe, because you’re sleeping at extreme altitude under clear, starry skies.
That crater night is also where you need to think like an adult about risk. Camps at high altitude are not just cold and slow. They add strain to your body and your decision-making, especially if you have limited time in similar conditions. This is why the route’s length matters, it gives your body more chances to adjust before the summit push.
Price and Logistics: What $6,466 Buys You in Tanzania
At $6,466 per person for about 10 days, the headline number looks big. But you’re not just buying a guide with a backpack. You’re buying an operating system for a high-risk trek.
Included items cover a lot of the expensive, hard-to-manage stuff:
- JRO airport pickup and drop-off, plus all ground transport
- Park fees and the main trek support costs
- Two nights in Aishi Machame Hotel, plus your final night at the end of the trek
- Tents, pads, and camp equipment (including branded North Face VE-25 tents and camp setup items)
- Three meals a day on the mountain and drinks during trekking
- A trained climbing team: porters, camp masters, cooks, and certified Wilderness First Responder guides
- Unlimited oxygen tanks and oximeters, along with medical kits and medical check-ups at least twice a day
You still need to bring or rent personal gear like boots and your sleeping bag, and the price does not include insurance or visa fees. But compared with many bare-bones climbs, this package structure is built for reducing chaos. That matters on Kilimanjaro, where you want your energy for the hike, not for logistics.
Day 1 in Moshi: Airport Arrival and Aishi Machame Hotel Reset
You’ll start in Moshi, with arrival at Kilimanjaro International Airport (JRO). An Altezza Travel representative meets you, then you transfer to the hotel under the trip rate. The hotel portion is meant to get you comfortable fast, with features like cozy rooms, hot water, a swimming pool, and internet.
Day 1 also includes a manager briefing in the evening. This is where you’ll get your route mindset and practical expectations before you drive to the park. Check-in starts at 2:00 PM, and hotel check-out is 11:00 AM on the way out.
Quieter Kilimanjaro routes we walked through
Day 2: Londorossi Gate to Shira 1, Above 2,200 m to Camp
The climb begins with a morning guide and crew meet-up, then a vehicle transfer of about 3 to 4 hours to Londorossi Gate (2,200 m). After permits and the search and rescue registration, you move upward by off-road vehicles to a drop-off point around 3,500 m.
Then comes the first real trekking day: Shira 1. The key detail is that the hike from the drop-off point to camp has only a small altitude gain and is not too physically challenging. That’s intentional. On Kilimanjaro, the first goal is not to test your legs, it’s to start your acclimatization gently and keep fatigue low.
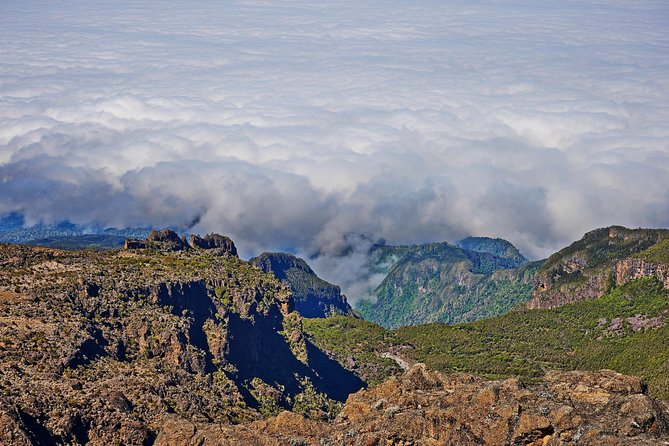
For many people, the other big win is viewpoint timing. You get stunning views of the Shira Plateau early, which helps make the altitude feel less like a chore and more like part of the adventure.
Day 3: Shira 2 and a Lava Tower Acclimatization Walk
From Shira 1 to Shira 2, you gain only about 300 m, and the day stays relatively easy. That matters, because your body needs time to adapt rather than punish you for moving upward.
After Shira 2 and lunch, you’ll do an acclimatization walk toward Lava Tower, plus a rest period of around two hours. The itinerary notes another 300 m gain tied to that follow-on walk. You’re essentially building a ladder step by step, so your system learns the pattern before the higher, bumpier days.
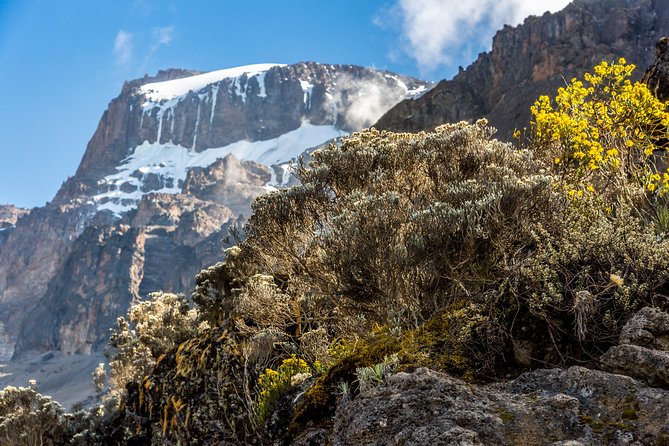
There’s also a geography bonus. With favorable weather, you may see Mount Meru, the continent’s fifth-highest peak. Even if you don’t, the plant life and shifting altitude feel are part of the value on a well-paced day.
Day 4: Lava Tower to Moir Hut, Where the Route Gets Bumpy
Day 4 is where the trek starts to feel more like a mountain trek than a gradual stroll. You leave Shira camp altitude around 3,900 m and head to Lava Tower at 4,630 m after breakfast.
The route is described as full of ups and downs, and it may bring discomfort. That’s normal, but the plan includes a crucial rule: you spend time at higher altitude to acclimatize properly. Lunch happens at Lava Tower itself, which gives you time to adjust before you move on.
In the afternoon, you descend to Moir Hut Camp. The guide may also decide to bypass Lava Tower entirely and take a porter trail if someone in the group does not seem to be acclimatizing well. That decision point is one reason this style of climb can feel safer than a fixed script.
Day 5: Northern Circuit Around the Slope, Long But Easy
This day is a long trekking day, but it is pitched as easy. After a short steep climb out of Moir Valley, you’ll travel around the northern slope of Kilimanjaro with “highs and lows” but without steep altitude gains.
A great practical reason this day works: it keeps your pace steady while your body continues to adjust. You don’t get dumped into the hardest climbing at the same time as the highest altitude jump.
The scenery is also built in. The path passes close to the border with Kenya, and you get amazing views of the Tsavo and Amboseli Valleys. Views are not just decoration up here. They help you keep morale up during the long stretches when you’re watching your breathing and foot placement.
Day 6: 3rd Cave Camp and the Rongai Connection
On Day 6, you finish trekking up the northern slope and camp at 3rd Cave Camp, where the route meets up with the traditional Rongai route. The itinerary says this day is shorter than the previous one.
This shorter day is more important than it sounds. By this stage, you should already feel more adjusted at around 4,000 m. That contributes to your general well-being, which makes the summit night later much more manageable.
This is a good day mentally too. It’s a chance to get your packing routine right, keep hydrated, and set up your summit night gear so you are not scrambling when you’re already tired.
The Big Decision Phase: Crater Camping and Summit Night Readiness
This program includes an overnight crater camping experience, and it’s paired with an extended 10-day build-up. That matters because crater altitude is not just scenery. It’s a physical stress test layered on top of cold air, thin oxygen, and sleep deprivation.
The best way to treat crater night is simple: plan to be conservative. Don’t try to impress anyone with how fast you move on the summit approach. Keep your pace even. Follow the team’s monitoring, especially since you have tools like oximeters and medical kits in the support plan.
Then you transition into the summit night structure.
Day 7: School Hut Summit Camp to the Uhuru Peak Goal
Day 7 takes you to School Hut Summit Camp (4,750 m). The actual trekking here is not described as very hard, but altitude changes the effort level. The itinerary asks you to choose an appropriate pace to save strength for the summit climb.
At camp, the plan is clear: sleep well, avoid strenuous activity, and drink fluids. That very night you’ll complete the trek to Uhuru Peak (5,895 m). In other words, Day 7 is about protecting your energy more than pushing your fitness.
Also, expect the cold to be a bigger factor than you think. Even if you feel fine during the climb, your body pays a tax when you stop moving.
Day 8: Midnight Start, Glacier Steps Option, Then Down to Millennium Camp
Safety leads the summit approach. The itinerary states that one guide is nominated per every two climbers to monitor health on the trek toward Uhuru Peak. Even if the climb is technically “relatively easy,” high altitude makes it hard.
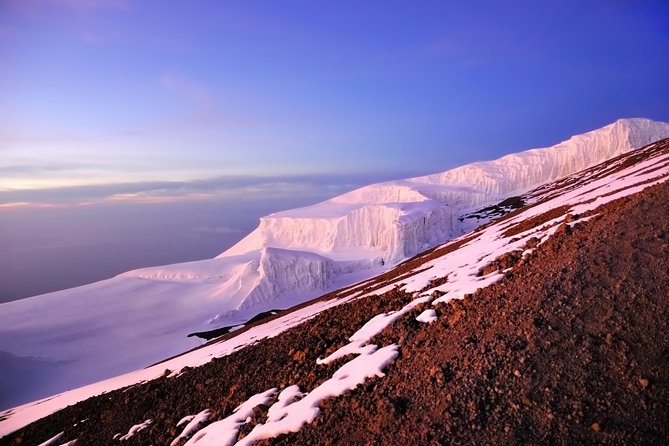
You start around midnight from School Hut (4,750 m). There is also an option to walk upon the nearest glacier after successful summiting. That depends on conditions and your summit outcome, but the possibility is there.
After Uhuru Peak, the group descends to Barafu Camp for a two-hour lunch and rest break. Then you continue down to Millennium Camp (3,820 m).
One detail you should treat seriously: the itinerary notes that 9 out of 10 accidents occur during descent. That is not meant to scare you. It’s meant to keep you focused. Take small steps. Watch your boots. Don’t rush to catch up when you’re tired.
Day 9: Millennium Camp in Rainforest, Final Descent to Mweka
Day 9 drops to the Mweka exit gate (1,650 m). Millennium Camp sits amidst a tropical rainforest, and the lower altitude plus the feeling of accomplishment make for a good night’s rest.
You’ll start with a hot breakfast, then continue the final descent. This final day is still active, but it’s a relief because the altitude pressure is lower and the terrain tends to feel more forgiving than the summit approach.
Before the drive back to the hotel, there’s time to recap your adventure with your support team and collect accomplishment certificates. It’s the end of the climb, not the end of your responsibility to walk carefully.
Day 10: Hotel Rest and Airport Transfer
After reaching the end of the trek, you rest in the hotel and transfer to the airport. Hotel check-out is 11:00 AM, and if you need a late check-out because of an evening flight, an extension is available for an extra fee.
This day is your payoff window. You may still feel it in your legs. That’s normal. Eat something warm, take it slow, and let your body finish recovering.
What the Included Crew and Medical Setup Really Means for You
You get a full support team: porters, camp masters, and cooks, plus certified Wilderness First Responder guides with 7+ years of experience.
The biggest practical advantage is that the safety system is not just a poster. The plan includes:
- Medical check-ups at least twice a day
- Unlimited oxygen tanks and oximeters
- Medical kits
On Kilimanjaro, you can feel fine right up until you don’t. That’s why monitoring helps. You’re not making the whole call alone with guesswork. The guide structure for the summit night is also built for that same idea.
This is also where crater camping changes the stakes. If you’re doing it, you want a team that can respond if someone’s oxygen levels or symptoms shift.
Who This Trek Suits Best, and Who Should Rethink It
This climb is described as best for people with moderate physical fitness. That’s a useful starting point, but Kilimanjaro is not just about fitness. It’s about how you handle altitude, time on your feet, and cold night sleep.
This route is a good match if you want:
- A more gradual acclimatization rhythm than shorter climbs
- A summit attempt that includes structured health monitoring
- The unique draw of crater camping and northern-slope views
You might want to rethink crater camping if you have limited high-altitude experience or if your training history is short and inconsistent. Not because you’re incapable, but because this is not the time for learning curves.
Should You Book This 10-Day Altezza Kilimanjaro Plan?
I think this is a strong choice if you value safety structure, thoughtful pacing, and included mountain logistics. The price looks steep, but the package covers real costs: permits, camp gear, meals, a trained crew, and medical equipment like oxygen and oximeters. If you want the smoother end-to-end approach, the support team also sounds hands-on in trip planning, including customization help from Maria.
You should book it if your priority is reaching Uhuru Peak with a plan that takes acclimatization seriously, and if crater camping sounds like the kind of challenge you can prepare for honestly.
You might pass if you’re not comfortable with long trek days, cold nights, and high-altitude risk. In that case, consider a less demanding route profile and save the crater night for later when you have more altitude experience.
FAQ
What safety support is included on this Kilimanjaro trek?
The tour includes medical kits, unlimited oxygen tanks and oximeters, and medical check-ups at least twice a day. Certified Wilderness First Responder guides with 7+ years of professional experience are also part of the program.
Are airport transfers and hotel stays included?
Yes. The tour includes pickup at JRO and drop-off at the end, plus all ground transportation. It also includes two nights in Aishi Machame Hotel, and you rest in the hotel after the final descent before transferring to the airport.
Is this a private climb?
Yes. This is described as a private tour/activity, with only your group participating.
Do I need my own sleeping bag and other personal gear?
Personal gear like hiking outfit and boots, and a sleeping bag are not included. The tour notes that personal gear is available for hire.
Are meals and drinks included during the trek?
Yes. You get three tasty and energy-rich meals per day, along with drinks on Kilimanjaro such as tea, coffee, juices, and soda. Vegetarian, gluten-free, halal, and other meal options are available.
Can I cancel for a full refund?
Free cancellation is offered if you cancel up to 24 hours in advance of the experience start time. If you cancel less than 24 hours before the start time, the amount you paid will not be refunded.
The Quieter Kilimanjaro Trails
- Kilimanjaro climb, Rongai Route (7-day)
★ 5.0 · 40 reviews - Kilimanjaro climb, Rongai Route (6-day)
★ 5.0 · 15 reviews - Mount Kilimanjaro Rongai Route
★ 5.0 · 10 reviews - 6-Day Rongai Route Trek in Mount Kilimanjaro
★ 5.0 · 8 reviews - Rongai Route 6 Days 5 Nights/Kilimanjaro climb
★ 5.0 · 7 reviews
Kilimanjaro, Route by Route
- Kilimanjaro climb by Lemosho Route (7-day)
★ 5.0 · 651 reviews - Kilimanjaro climb, Machame Route (7-day)
★ 5.0 · 262 reviews - Kilimanjaro Climbing Lemosho Route 8 Days.
★ 5.0 · 186 reviews - Climbing Kilimanjaro – Machame Route
★ 5.0 · 170 reviews - Climbing Kilimanjaro through 7 days Machame Route
★ 5.0 · 151 reviews
Just added from around Moshi
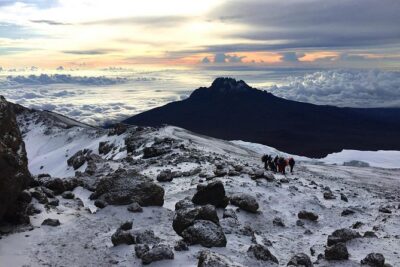
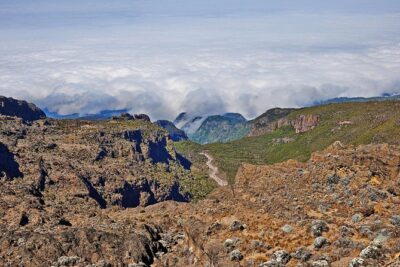
Kilimanjaro Rongai Umbwe and Shira Routes, compared.
 ★ 5.0Kilimanjaro climb, Rongai Route (7-day)From $3,50740 reviews
 ★ 5.0Kilimanjaro climb, Rongai Route (6-day)From $3,06415 reviews
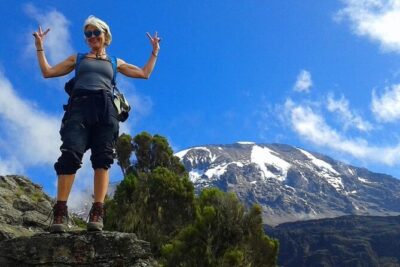 ★ 5.0Mount Kilimanjaro Rongai RouteFrom $2,70010 reviews
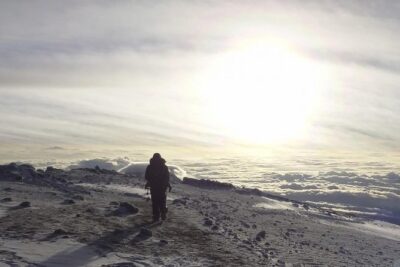 ★ 5.06-Day Rongai Route Trek in Mount KilimanjaroFrom $2,3538 reviews
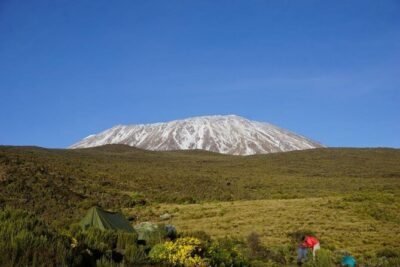 ★ 5.0Mt. Kilimanjaro: Shira plateau to Cathedral point 3872m Day hikeFrom $3207 reviews
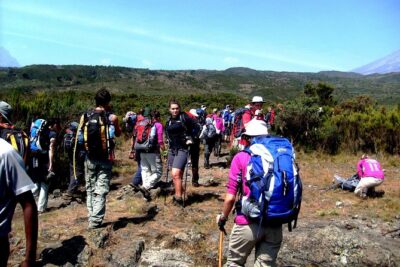 ★ 5.0Rongai Route 6 Days 5 Nights/Kilimanjaro climbFrom $1,8507 reviews
 ★ 5.0Kilimanjaro Climbing Rongai RouteFrom $2,8406 reviews
 ★ 5.06-Day Kilimanjaro Umbwe Route–Steep,Adventurous, Challenging PathFrom $2,3106 reviews
Browse the lists this tour appears in