
REVIEW · KILIMANJARO MACHAME ROUTE
Climbing Kilimanjaro – Machame Route
Kilimanjaro by the Machame Route is a long, moving picture show. You climb from montane forest into moorland, then semi-desert, with some of the route’s most famous views like Kibo’s glacier areas and the Barranco Wall. I like that you get to sleep in camp settings (tents and mattresses are included) while your team handles the heavy lifting, cooking, and logistics.
Two things I especially like: the crew support and the scenery pacing. Porters carry your equipment and supplies, and the cook runs the meals, so you spend your energy on walking and adjusting to altitude. One consideration, though, is that this is a tough 6-day itinerary with exposed, very cold nights, and some people may find the pace a bit intense.
In This Review
- Key things I’d bet on before you go
- Why Machame Feels Like a Scenic Hike-Show on Kilimanjaro
- Price and What’s Included, Plus What That Means for Value
- Moshi Logistics, Small Group Size, and the Team Behind the Climb
- Day 1: Moshi to Machame Gate, Montane Forest to Machame Camp at 2980m
- Day 2: Machame Camp to Shira Camp at 3840m, Moorland and Glacier Views
- Day 3: Shira to Lava Tower at 4630m and On to Barranco Camp at 3950m
- Day 4: Barranco to Karanga Valley, Then Barafu Camp at 4550m, Exposed Ridge Weather
- Day 5: Uhuru Peak Sunrise, Stella Point at 5685m, and the Long Descent to Mweka
- Day 6: Forest Descent to Mweka Gate at 1980m, Hot Lunch at Springlands Hotel, and Certificates
- How to Pack and Train for a Route This Tough
- Who This Trek Fits Best, and Who Should Consider a Different Plan
- Should You Book This Kilimanjaro Machame Trek?
- FAQ
- How long is the Machame Route trek?
- What is the highest point on this itinerary?
- Does this price include hotel nights in Moshi?
- What transportation is included?
- Are meals provided during the trek?
- Are camping tents and sleeping gear included?
- Is emergency oxygen included?
- How does the summit certificate work?
- What about group size and fitness level?
Key things I’d bet on before you go
- Porter-managed comfort: You don’t haul your own gear, and you’re supported by a full team that includes guides, porters, and a cook.
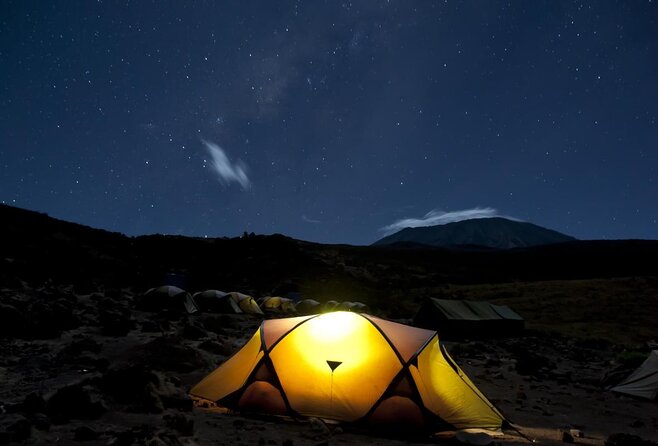
- Cold, exposed camping is real: Shira and the ridge camps can get well below freezing, so plan for sleeping and hydration in harsh conditions.
- Day 3 has a reputation for a reason: Lava Tower and the semi-desert section can trigger altitude symptoms like breathlessness, headaches, and irritability.
- Summit night is a mental workout: The long climb to Stella Point is often the toughest part, even before the final push to Uhuru Peak.
- Summit certificate clarity: You get certificates based on your reach, green for Stella Point (5685m) and gold for Uhuru Peak (5895m).
- Food is a bigger deal than you’d think: Multiple recent climbs praised the meals, which matters when you need calories at altitude.
Other ways up Kilimanjaro we reviewed
- Kilimanjaro climb by Lemosho Route (7-day)★ 5.0 · 651 reviews
- Kilimanjaro climb, Machame Route (7-day)★ 5.0 · 262 reviews
- Kilimanjaro Climbing Lemosho Route 8 Days.★ 5.0 · 186 reviews
- Climbing Kilimanjaro – Machame Route★ 5.0 · 170 reviews
Why Machame Feels Like a Scenic Hike-Show on Kilimanjaro
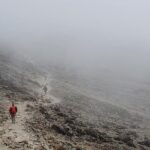
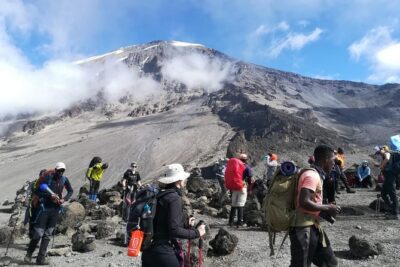
The Machame Route is popular for a reason: it changes character as you go. Day 1 starts in montane forest, then you climb into moorland on Day 2, and by Day 3 you’re walking through rocky semi-desert around Lava Tower. That constant shift keeps your brain engaged, not just your legs.
What you’ll notice most is how often you get meaningful views, not just a few postcard moments. You’ll see directionally important glacier views while you’re moving through the Shira zone, and later you’ll face dramatic steep sections like the Barranco area. If you enjoy reading the mountain with your eyes as well as your altitude meter, Machame rewards you.
It also has the feel of “earned reward.” You don’t just arrive at Kibo. You work your way there through a route that climbs, tests, and then resets you for the summit push.
Price and What’s Included, Plus What That Means for Value
This trip costs $2,322.06 per person, and the real question is what you’re buying beyond the trek. In this package, you get the practical essentials that usually add up fast on Kilimanjaro: park fees, guides and mountain crew, tents and sleeping mattresses, and all meals on the mountain.
You also get boiled water on the mountain, a first aid kit, and rescue fees included. Pulse oximeters are provided too, which can help your team monitor you during altitude changes. Add in the two nights at Springlands Hotel in Moshi before and after, plus return transportation for the start and finish, and the value starts to look more complete than a basic “guide only” offer.
The one place to be cautious is what’s not included: your personal gear, tips for the crew, visas, and emergency oxygen. If you’re trying to keep total trip cost low, those items can quietly be the difference between a smooth plan and a stressful scramble.
Moshi Logistics, Small Group Size, and the Team Behind the Climb
The trek starts from the Moshi area, and you’ll have return airport transfers to JRO (Kilimanjaro International Airport). The group size is capped at 12, which matters because it usually keeps the hike organized and manageable on crowded days and narrow camp areas.
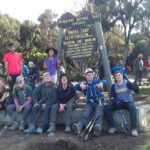
In the small details, you can get hints about how your experience will feel. Recent feedback highlights guides such as Salim, Yesse Lema, Freddy, Julius, Godlisten, and also Abdallah Chombo, known as Soap. People also mention support staff like Reggie for carrying a backpack during the final push, plus other team members like Pesto and Mike.
You should expect English-speaking guidance and a team that actively takes care of day-to-day problems at altitude. One example that shows up in the feedback is the way the team helped with an illness symptom by offering honey for tea, which is the kind of small comfort that can matter when you’re not feeling great.
More Machame departures, compared
Day 1: Moshi to Machame Gate, Montane Forest to Machame Camp at 2980m
Your day begins early with a briefing and breakfast, then a drive from Moshi up toward Machame village. Depending on road conditions, you might drive part of the way or do a short muddy walk to the Machame gate, then register before the ascent.
Once you start climbing, you enter rainforest, which is humid and very different from what most people imagine when they think of Kilimanjaro. This first walking day is long, about 18 km, and it’s your “warm-up altitude experience,” not the summit challenge yet. You’re moving steadily into a new environment while your body adapts to higher elevation.
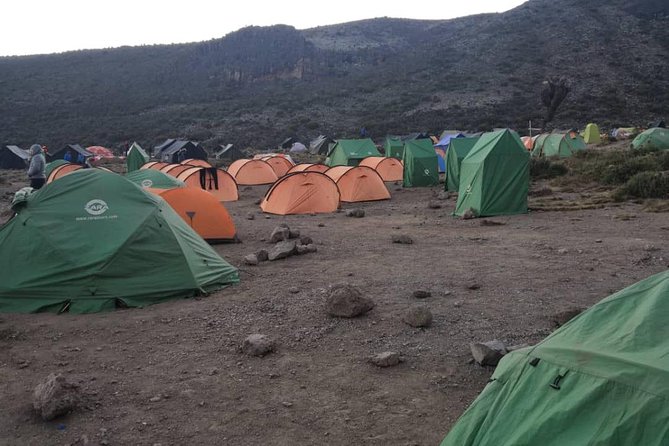
Lunch is handled in the gate area as a packed meal, and then you continue toward Machame camp at 2980m. Your pace on Day 1 matters because it sets up how you feel on Day 2, and you’ll be sleeping in a camp setup with tents and mattresses.
Practical note: since the schedule is structured, you’ll want to keep your mornings efficient. Some feedback notes mornings can feel rushed, so being ready with your layers and water routine helps you stay comfortable.
Day 2: Machame Camp to Shira Camp at 3840m, Moorland and Glacier Views
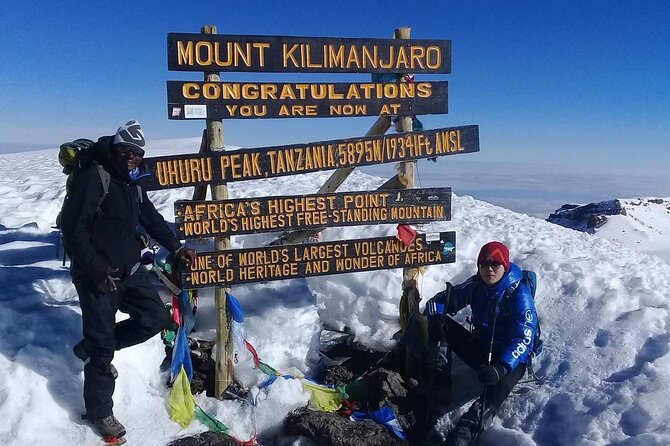
Day 2 climbs from Machame camp (2980m) to Shira camp (3840m) in about 6 hours, roughly 9 km. The route goes through a transition zone: first a bit of forest, then into moorland where the gradient becomes gentler but the air still gets thinner.
You’ll gain big-picture views as you move, including an easterly direction view toward the Western Breach with its glacier scenery. You’ll also be due west of Kibo at this stage, which means the mountain starts to feel very close, even before you’re near the summit heights.
This is a day where you can learn your rhythm. Slow, steady steps help, and you’ll want to stay hydrated even when the weather is cold. The team boils drinking and washing water, and dinner follows after you settle into camp.
The big consideration for Day 2 is sleep and temperature. The night at Shira can be colder than the previous one, with temperatures dropping well below freezing. If you’re under-packed for cold, this is where you’ll feel it first.
Day 3: Shira to Lava Tower at 4630m and On to Barranco Camp at 3950m
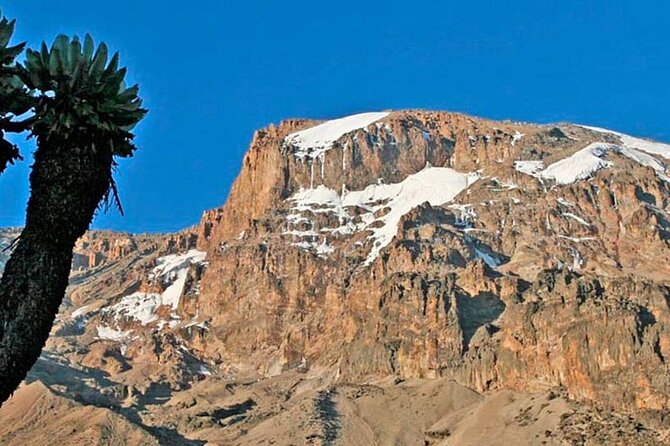
Day 3 is often described as the toughest day so far, and the numbers support that. You start at Shira (3840m), climb toward Lava Tower (4630m), then descend to Barranco camp around 3950m, with about 15 km total walking and around 7 hours.
The route turns east into semi-desert and rocky ground. You reach 4630m after about a 5-hour walk, then lunch happens in a designated area. After that, you still have a scree path and final push to Lava Tower (4630m), and this is where people may start feeling altitude symptoms like breathlessness, irritability, and headaches.
That doesn’t mean you should panic. It means you should respect the slow pace, communicate early if you’re not feeling right, and focus on controlled breathing. Your team is equipped with pulse oximeters and has a first aid kit on hand, so you’re not climbing in the dark medically.
After lunch and time near Lava Tower, you descend close to 680m to the Barranco camping area. This “down day” helps you recover a bit before the more exposed Barafu ridge period.
Day 4: Barranco to Karanga Valley, Then Barafu Camp at 4550m, Exposed Ridge Weather
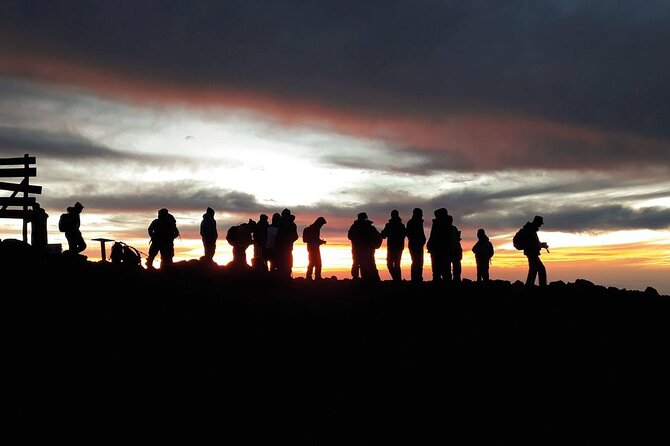
Day 4 takes you from Barranco to Karanga Valley area and on to Barafu camp at 4550m. The walk is about 13 km and roughly 7 hours, and you’ll be moving through alpine desert terrain.
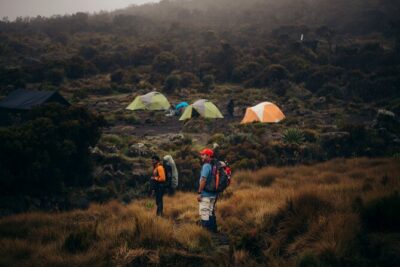
Here’s the main thing to know: you’re more exposed. The tents are pitched on a narrow, stony ridge in gales, which means wind management becomes part of your survival plan. Before dark, you should get familiar with the terrain around camp so you avoid careless slips.
This is also the day you prep your summit attempt equipment. The schedule is built around a late-night departure, so you’ll need to organize headlamp batteries, ski stick use (if you bring one), and thermal layers. The plan explicitly calls out replacing headlamp and camera batteries and carrying a spare set, which is smart, because cold drains batteries fast.
Water is another key point. The guidance is to carry your water carefully to prevent freezing. This is where preparation pays off: if you wait too long to manage your water strategy, you’ll feel it during the night climb.
Day 5: Uhuru Peak Sunrise, Stella Point at 5685m, and the Long Descent to Mweka
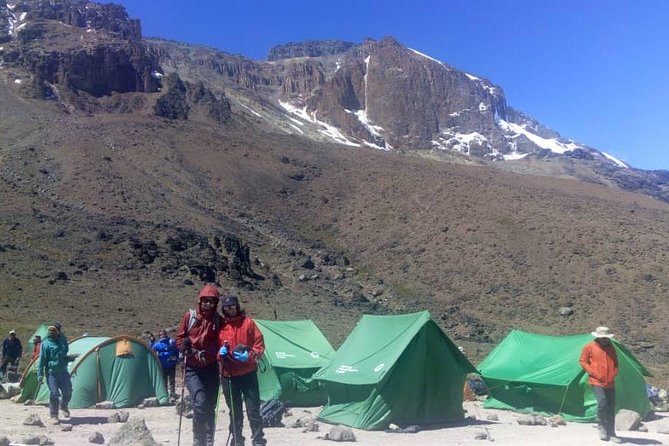
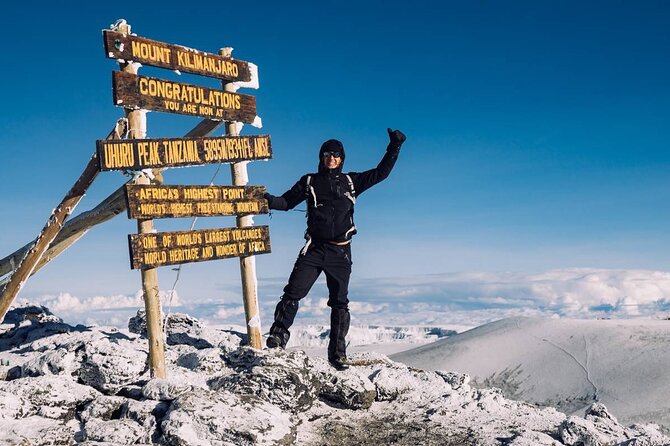
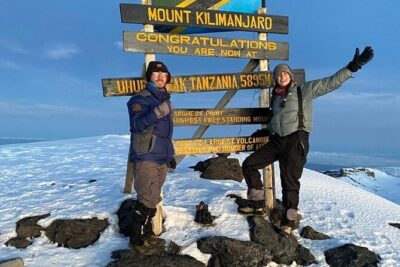
This is summit night, and it starts around 23:30 with tea and biscuits. You shuffle off into the dark, ascending through heavy scree toward Stella Point on the crater rim. That walk to Stella Point is often the mentally and physically hardest section on this route, and for many people it becomes the moment they realize Kilimanjaro is as much a psychological test as a physical one.
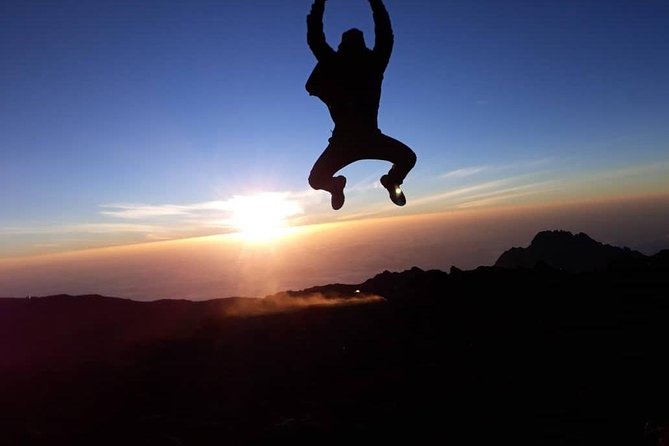
You reach Stella Point (5685m) and stop briefly, then the payoff comes with sunrise. The route is described as offering the most magnificent sunrise you’re likely to see, and this is the kind of scene that makes all the cold and discomfort feel worth it.
Then you continue to Uhuru Peak (5895m). The ascent is about 7 km, and the descent afterward is long, about 23 km, taking 7 to 8 hours to reach Mweka around 3100m. That’s a huge drop, and your knees will feel it.
Also, expect a big day emotionally. People in feedback repeatedly praise the team spirit and the way guides and crew help keep morale up. Names that show up strongly include guides like Soap (Abdallah Chombo) and also other leaders such as Godlisten and Julius, praised for support that helps summit dreams happen.
Day 6: Forest Descent to Mweka Gate at 1980m, Hot Lunch at Springlands Hotel, and Certificates
Day 6 begins with a lower-altitude descent from Mweka camp (3100m) to Mweka Gate at 1980m, about 3 hours and around 15 km. The habitat returns to forest, which tends to feel more forgiving than the rocky, wind-scoured camps.
After you reach the gate and complete the final paperwork, you drive to Springlands Hotel. You’ll be served a hot lunch, then you’ll drive back to Moshi for a much deserved hot shower. This is not a luxury you take lightly after days above 4000m.
This is also when successful climbers receive summit certificates. The certificate details are clear: green certificates for reaching Stella Point (5685m) and gold certificates for reaching Uhuru Peak (5895m). If you’re aiming for the summit, this is your official moment to celebrate what you achieved.
As a practical tip, plan to eat well and rest after the drive. Your body may feel tired even if the hardest hiking is already done.
How to Pack and Train for a Route This Tough
I’d treat Machame as a serious endurance goal, not a casual hike. The tour is described as challenging with a recommended moderate physical fitness level, and the daily distances plus the altitude profile make the workload real.
From a packing perspective, the trip includes tents, sleeping mattresses, and boiled water, so you can focus on the essentials you bring. What’s not included is gear for your climb, so you should plan for cold nights (temperatures can fall well below freezing), battery management, and layers that work in wind and darkness.
Training should also match reality. Feedback includes a reminder to spend time at the gym before you go, which makes sense when you consider early starts, rocky scree, and the long descent after Uhuru Peak.
On the mountain, also plan for small habits. Keep your steps controlled, communicate quickly if you’re not feeling right, and let the team know early if you have symptoms. On altitude routes, early help is always better than waiting.
Who This Trek Fits Best, and Who Should Consider a Different Plan
This Machame trek is a strong choice if you want a scenic route with constant variety and a full service setup. If you’re someone who likes mountains but doesn’t want to manage your own logistics, you’ll likely appreciate that your guides and porters handle the heavy work.
It’s also a good fit if you enjoy structured days, clear milestones, and a summit-focused schedule. The certificate system and the step-by-step acclimatization moments help you understand what you’re working toward.
But consider your limits carefully if you want extra recovery time. This itinerary packs a lot into 6 days, and some people feel the pace is intense, especially for those who want more rest between key altitude jumps. If you’re unsure, you may want to look at options that add buffer time, because altitude fatigue can turn a “normal hard day” into a miserable one.
Should You Book This Kilimanjaro Machame Trek?
If you’re ready for real altitude hiking and you want a team-driven experience, I’d say it’s worth serious consideration. The value is solid when you factor in guided support, park fees, tents and mattresses, all meals on the mountain, boiled water, pulse oximeters, and the two hotel nights plus transfers.
I’d book if you like being supported and you want the route’s famous views without planning every detail. I’d think twice if you know you handle cold poorly, you struggle with long summit-day descents, or you feel you need more time to recover between altitude gains.
Bottom line: Machame is tough, but it’s also structured, scenic, and built to keep you walking instead of juggling logistics.
FAQ
How long is the Machame Route trek?
It’s listed as 6 days approximately, with a Day 1 start at Machame Gate and a Day 6 finish at Mweka Gate.
What is the highest point on this itinerary?
The itinerary includes Uhuru Peak at 5895m.
Does this price include hotel nights in Moshi?
Yes. It includes two nights at Springlands Hotel in Moshi, one before the climb and one after.
What transportation is included?
Return transportation from Moshi to/from the starting and finishing points on the mountain is included. Return airport transfers to JRO are also included.
Are meals provided during the trek?
Yes. All meals on the mountain are included, including breakfast, lunch, and dinner for the trek days.
Are camping tents and sleeping gear included?
Yes. The package includes tents and sleeping mattresses.
Is emergency oxygen included?
No. Emergency oxygen is listed as not included.
How does the summit certificate work?
You receive a certificate for successful completion. Green certificates are for reaching Stella Point (5685m) and gold certificates are for reaching Uhuru Peak (5895m).
What about group size and fitness level?
The tour notes a maximum of 12 travelers. It also recommends travelers have a moderate physical fitness level.
More Machame Departures
- Kilimanjaro climb, Machame Route (7-day)
★ 5.0 · 262 reviews - Climbing Kilimanjaro through 7 days Machame Route
★ 5.0 · 151 reviews - #1. Best Kilimanjaro Day hike Tour-Machame Route-ISMANI
★ 4.2 · 47 reviews - 7 Days Machame route – Kilimanjaro
★ 5.0 · 45 reviews - The Best of Machame Route in 6 Days: Your World’s Summit Guide
★ 5.0 · 44 reviews
Kilimanjaro, Route by Route
- Kilimanjaro climb by Lemosho Route (7-day)
★ 5.0 · 651 reviews - Kilimanjaro climb, Machame Route (7-day)
★ 5.0 · 262 reviews - Kilimanjaro Climbing Lemosho Route 8 Days.
★ 5.0 · 186 reviews - Climbing Kilimanjaro through 7 days Machame Route
★ 5.0 · 151 reviews - Kilimanjaro climb, Lemosho Route (8-day)
★ 5.0 · 148 reviews
Just added from around Moshi
Kilimanjaro Machame Route, compared.
 ★ 5.0Kilimanjaro climb, Machame Route (7-day)From $3,377262 reviews
 ★ 5.0Climbing Kilimanjaro through 7 days Machame RouteFrom $2,425151 reviews
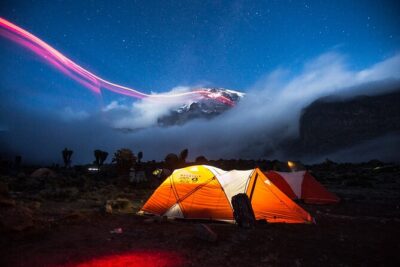 ★ 5.07-Day Machame Kilimanjaro Summit Tour from ArushaFrom $2,695125 reviews
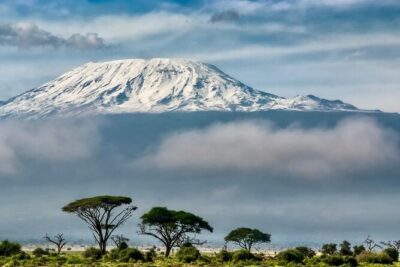 ★ 5.07 Days Kilimanjaro via Machame route affordable priceFrom $2,400110 reviews
 ★ 4.2#1. Best Kilimanjaro Day hike Tour-Machame Route-ISMANIFrom $11547 reviews
 ★ 5.07 Days Machame route – KilimanjaroFrom $2,85045 reviews
 ★ 5.0The Best of Machame Route in 6 Days: Your World’s Summit GuideFrom $1,15044 reviews
 ★ 5.0Best Kilimanjaro Adventure 7 days Machame route TrekkingFrom $1,20042 reviews
Browse the lists this tour appears in