
REVIEW · KILIMANJARO MACHAME ROUTE
7 Days Kilimanjaro trek via Machame route
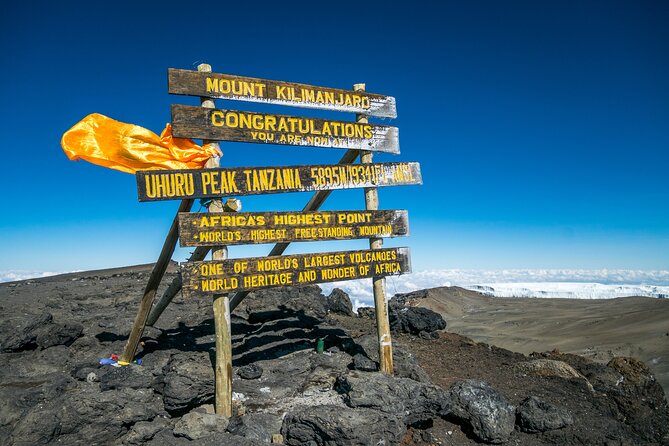
Kilimanjaro is not a hike you forget. This 7 Days Kilimanjaro trek via Machame route is built for success without making things overly complicated, from the cloud-forest start near Machame Gate to the big night push toward Uhuru Peak. I like that you get a well-paced acclimatization plan, and I also like the human part, with guides such as Gasto James praised for calm encouragement, keeping people moving at a steady pole pole pace, and even singing during summit hours. One thing to consider upfront: it is still a serious, high-altitude trek, and the toughest physical moment on this route is the Barranco Wall scramble.
You are also signing up for real logistics. You’ll be on a camping route that is popular, so you may see lots of fellow climbers, but the operation is set up to feel organized, with porters and cooks meeting you at camps, private mountain sleeping tents, and meals plus purified drinking water while you are on the mountain. If you get anxious about steep steps, steep grades at night, or sleeping at altitude, plan for that reality mentally before you commit.
In This Review
- Key things that make this Machame trek worth your attention
- Machame route basics: why this west-side approach gets chosen so often
- Arusha to Machame Gate, then into cloud forest: your first day is about easing in
- Shira Plateau day: viewpoints, changing vegetation, and a very clear lesson in altitude
- The acclimatization swing from Shira toward Barranco: why it matters more than it sounds
- Barranco Wall to Karanga Valley: the scrambling day you should respect
- Barafu Camp and the pre-summit rhythm: plan for sleep that feels weird
- Summit night from Barafu: headlamps, steep climbs, and Stella Point
- Mweka Gate finish through forest: the day that feels like real relief
- What’s included on the mountain, and what you still need to bring
- Price and value: is $2,800 a smart deal for a 7-day summit attempt?
- Who should choose this trek, and who might feel uncomfortable
- Should you book Mountain Warriors for this Machame climb?
- FAQ
- How long is the Machame route trek?
- Where does the trek start and how do you get there from Arusha?
- Is the trek on Kilimanjaro National Park included?
- Are meals included?
- Do you provide drinking water?
- Are tents and camp setup included?
- What about climbing gear, tipping, or visas?
- How hard is the trek physically?
- When do you start the summit attempt?
- Can I cancel and get a full refund?
Key things that make this Machame trek worth your attention
- Easy access to the trailhead means less stress on travel day, with a drive from Arusha to Machame Gate of about 1.5 hours
- Acclimatization-focused day planning, including a swing up and down that builds altitude tolerance before the Barranco stretch
- Barranco Wall is the key challenge, about 1.5 hours of scrambling where you may use your hands in places
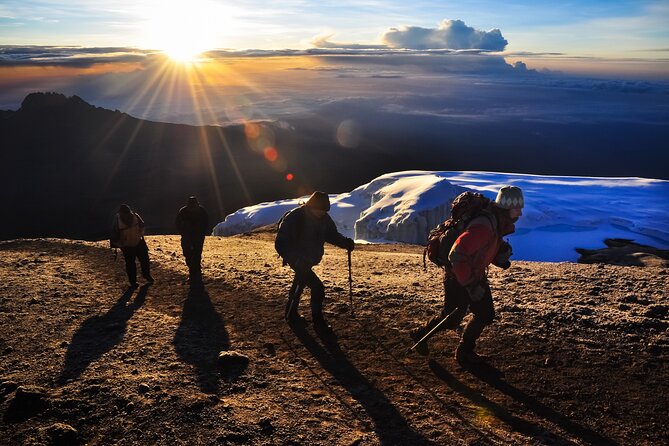
- Summit night starts around midnight, with a headlamp-required climb that is steep until the crater rim
- Support that shows up when you’re tired, including praise for Gasto James and the team staying attentive and helpful
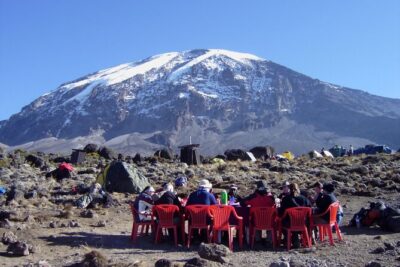
- Camping comfort is included, with waterproof private tents and mess tents with table and chairs
Other ways up Kilimanjaro we reviewed
- 8-Day Small-group Lemosho Kilimanjaro Summit Trekking★ 5.0 · 186 reviews
- 7-Day Machame Kilimanjaro Summit Tour from Arusha★ 5.0 · 125 reviews
- Mountain Kilimanjaro Day Hike★ 5.0 · 102 reviews
- 4 days Best experience Kilimanjaro Hike, Serengeti &Ngorongoro★ 5.0 · 54 reviews
Machame route basics: why this west-side approach gets chosen so often
Machame is one of the most popular ways up Kilimanjaro, and this route description explains why. You get relatively easy access from Arusha to the Machame Gate area, and the trek moves through distinct altitude zones, so the day-to-day scenery keeps changing.
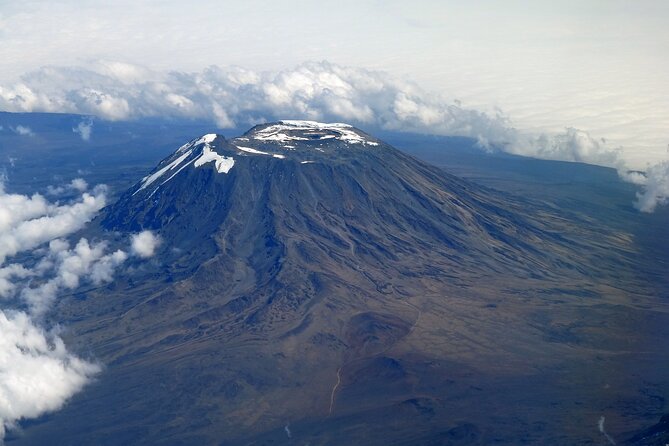
The route ascends on Kilimanjaro’s west side. That matters because it shapes what you see and when you see it, from forest tones at the start to alpine desert conditions later on. It also means the planning leans into gradual gains, with a crucial acclimatization day before you commit to the Barranco section.
One practical note: because this is the most popular camping route overall, you should expect to be joined by a lot of other climbers on the trail and at camps. That can be a good thing, a built-in sense of energy. If you prefer quiet, treat Kilimanjaro as a shared experience, not a private wilderness retreat.
Arusha to Machame Gate, then into cloud forest: your first day is about easing in
Most days start with a clean handoff, and Day 1 begins with a morning drive. You leave Arusha for Machame Gate at about 9am, a trip of roughly 1.5 hours through coffee farms and villages. At the gate you register your climb, and your guides and porters make final preparations.
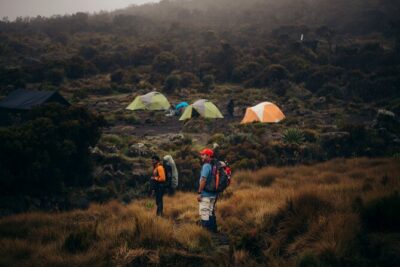
Then you hike toward Machame Camp. The first section is described as Kilimanjaro’s cloud forest, with moss-covered trees that feel almost magical when you are still fresh. Later you move into a thinning forest with heathers, tall grasses, and wildflowers, and if weather is clear you may catch striking views of Kibo Peak, your ultimate destination.
This is a longish first day at around 6 hours of hiking. The good news is that it is mainly about getting your body used to motion with a pack, and getting your pace right. Your cooks and porters go ahead to prepare camp, so you arrive to a campsite that is ready instead of scrambling to set up.
If this is your first big altitude hike, I’d treat Day 1 as a practice day: keep your steps smooth, sip water steadily, and avoid turning your first day into a fitness test.
Shira Plateau day: viewpoints, changing vegetation, and a very clear lesson in altitude
Day 2 keeps you moving uphill and builds on the “scenery changes all the time” feel. The trek includes several uphill sections, and on a clear day it can be hot hiking. The key practical advice here is simple: carry plenty of drinking water and keep taking sips.
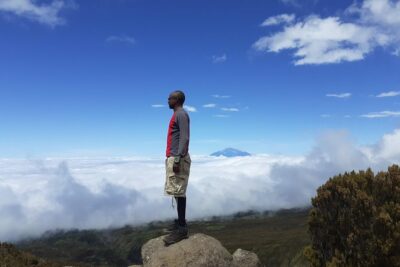
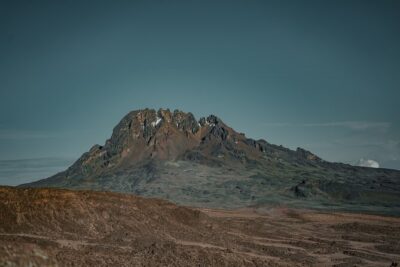
You’ll get viewpoints looking down toward plains and forests, while Kibo and Mawenzi sit higher in the frame. What I like about this day is how quickly you see altitude’s effect in a real, visual way. Trees diminish in size as you go up, giving way to high-altitude plants like Senecio kilimanjari and Lobelia deckenii.
After lunch, the plan includes a hike onto the Shira Plateau, created when Kibo’s lava flows filled the Shira crater. That is not just a fun fact, it’s a reminder that you are walking on volcanic terrain, and it changes how the slopes feel and how exposed some sections may be.
The day finishes at Shira Camp and gives you time to relax. Think of Day 2 as altitude education, your body learns that breathing changes before your brain fully catches up. Take it slow, eat what you can, and keep your water and pacing habits consistent.
More Machame departures, compared
The acclimatization swing from Shira toward Barranco: why it matters more than it sounds
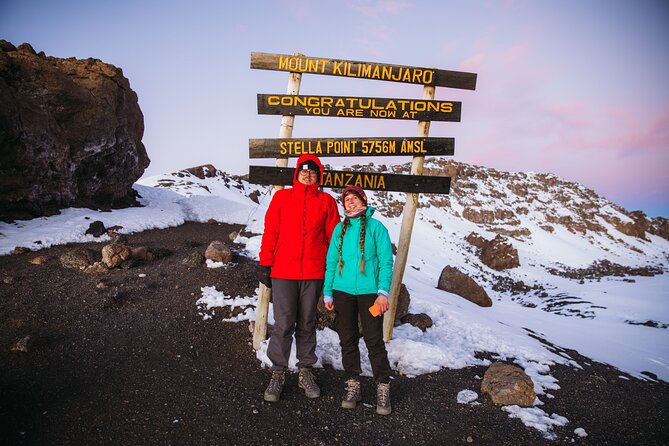
Day 3 is a classic “this looks odd, but it works” day. You end the day with an elevation gain of only about 110 meters, but earlier in the day you climb up to roughly 4,530 meters after a total ascent of about 690 meters. Then you descend to Barranco Camp.
That up-and-down profile is the point. Kilimanjaro is not only about willpower, it is about training your body to tolerate altitude stress. A swing day like this can help you acclimatize more effectively than a straight-line climb.
The route goes east on the Shira Plateau before reaching the junction where the Shira and Lemosho routes connect. After that you move through barren landscape, with lunch along the way and then a hike to the day’s highest point. From there you descend quickly toward Barranco.
There’s also an optional detour: if you are feeling strong and your guides think it fits, you can take the Lava Tower detour, described as a 300-foot lava formation jutting out of the mountainside. Optional side hikes can be fun, but I’d treat them as a bonus, not a requirement.
For most people, the real win on Day 3 is mental. You learn that doing a harder-feeling day earlier can make the later challenge days feel more manageable. It also sets you up physically for Barranco.
Barranco Wall to Karanga Valley: the scrambling day you should respect
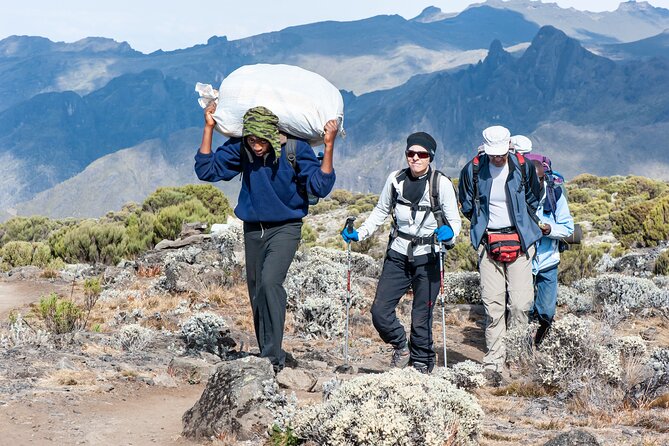
Day 4 is the route’s named test: Barranco Wall. You leave after breakfast for Karanga Valley, and the day begins with about 1.5 hours of scrambling up the wall.
In some places you may need to use your hands. That matters because it changes what you need from your footing and body control. If you have shaky balance, this is the day to slow down, focus on the next step only, and trust your guide’s timing and route choice.
Once you reach the top, the terrain shifts to fairly level hiking before you do a short but steep descent into the green Karanga River Valley. That “hard then easier” rhythm is something you can use to your advantage.
The value of Day 4 is that it gives you a sense of accomplishment without being the summit day. You get a hard moment, then you get the payoff of dropping into a calmer valley environment. You also get the confidence boost of seeing that the mountain rewards patience.
Barafu Camp and the pre-summit rhythm: plan for sleep that feels weird
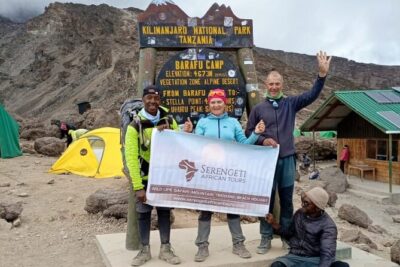
Day 5 hikes to Barafu Camp after breakfast. The route passes viewpoints where you can view glaciers on Kibo, and it also includes a junction that connects the Mweka descent route with the Machame trail.
You’ll also see the Heim, Kersten, and Decken Glaciers. The trek around Barafu is described as alpine desert with little vegetation, but the views of Kibo and Mawenzi peaks can be stunning.
This day is about two things: conserving energy and preparing your body for the summit wake-up. You’ll try to sleep after dinner because you start the summit hike before midnight. That is a strange instruction if you’re used to normal bedtime, but it’s one of the most important parts of the whole trip. Your sleep does not need to be perfect, it needs to be as close as your altitude body allows.
If you tend to get hungry or jittery at night, eat your dinner calmly and do a light pre-sleep routine. On summit day, your headlamp steps will feel much easier if you are not also fighting fatigue from a bad night.
Summit night from Barafu: headlamps, steep climbs, and Stella Point
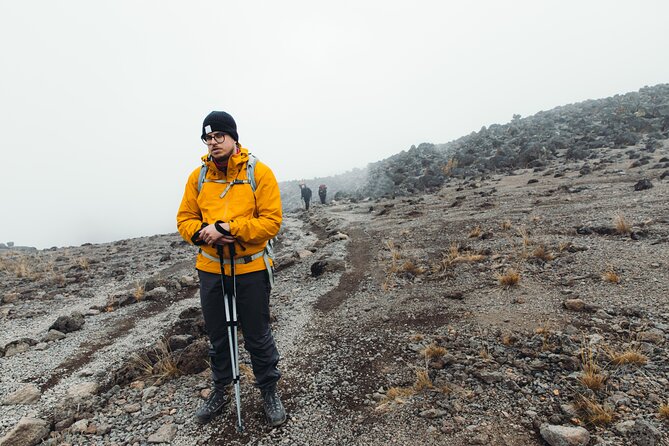
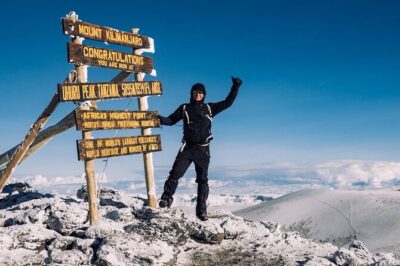
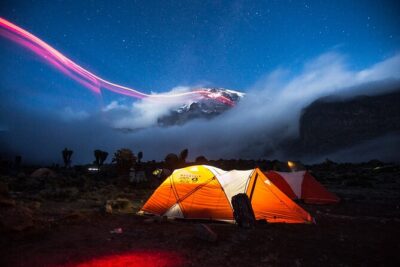
Around midnight, you start the final ascent to Uhuru Peak. The hike continues for roughly six hours with your headlamp, so you are basically climbing in stages of light and breath.
The ascent to the crater rim is described as the most challenging part of the entire trek. The trail is very steep until you reach Stella Point. The good news is that after Stella Point, the hike from the crater rim to Uhuru Peak becomes a gradual climb and is described as not very difficult in hiking terms.
But altitude makes it long and tiring. That’s why summit day requires patience more than speed. If your brain wants to rush because you see the finish line, train yourself to keep moving steadily instead.
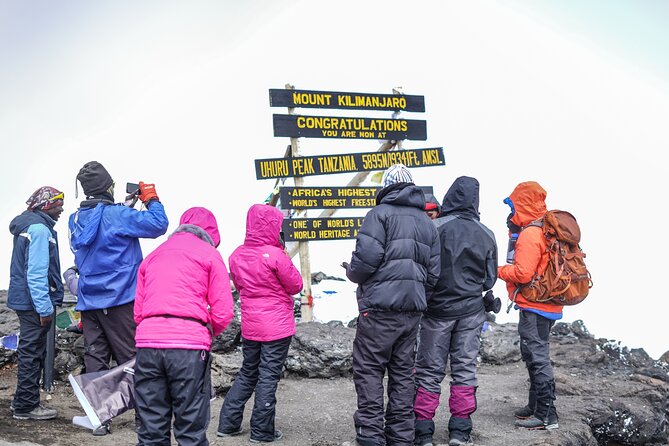
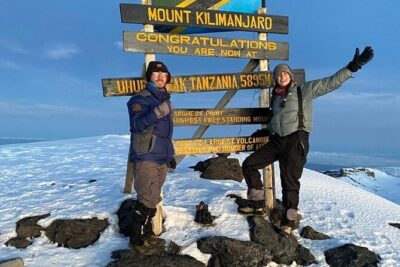
When you reach Uhuru, you take photos of your guide and group at the peak before beginning the descent to Mweka Camp. On the way down, you get views of the mountain, crater, clouds, and glaciers.
One detail that comes up again and again in people’s summit stories is the way the team stays upbeat. Gasto James and the team have been praised for creating a positive atmosphere, including singing during the early-hours push toward Stella Point. That kind of energy matters, because summit night can turn into one long mental conversation with your own legs.
Mweka Gate finish through forest: the day that feels like real relief
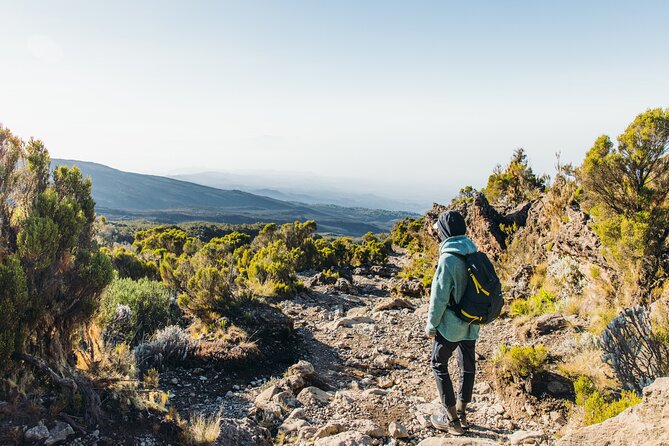
Day 7 is shorter and more about transition than altitude work. After breakfast you hike through forest to Mweka Gate. The trail may be slippery after rain, so you’ll want to keep your focus on foot placement.
Once you reach the lower station of Mweka Gate, vehicles meet you and take you back to Arusha. That final motor ride is one of those “you earned this” moments, especially after night hiking and a full descent.
What I like about the Day 7 structure is that it gives you a clear finish line. You are not negotiating unknown timing. It is simply hike down, clear the gate area, then head back.
If you want a practical emotional strategy, plan to celebrate quietly. You’ve climbed through multiple ecosystems and multiple body limits. A low-key finish tends to feel better than trying to sprint into the next activity.
What’s included on the mountain, and what you still need to bring
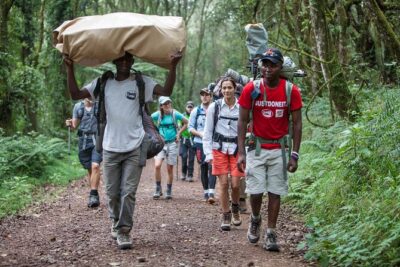
This trek includes a lot of the things that make high-altitude camping less stressful. You get quality, waterproof, private mountain sleeping tents and professional, experienced mountain guides. Porters and cooks are part of the team, and they handle camp preparation so you can focus on walking, eating, and resting.
You also get all park fees and rescue fees, plus all meals while on the mountain. Drinking water is provided as clean, purified water. On top of that, there are quality mess tents with table and chairs, which is a small detail until you are tired and want to eat like a human instead of in a windstorm on a rock.
Transfers are included too, including airport transfers, plus pickup is offered. You also get a mobile ticket.
Not included is important to plan for. Person-specific climbing gear is not included, and tipping is not included either. Visas fees are also not included. So, budget beyond the base price if you need a visa and if you want to show appreciation to the staff.
Price and value: is $2,800 a smart deal for a 7-day summit attempt?
At $2,800 per person, this is not a budget trek. The upside is that the cost is tied to a full supported camping expedition, not just a guided hike. You’re paying for the whole system: experienced guides, cooks and porters, tent setup, mess tent comfort, meals every day, purified water, and the park and rescue fees.
That matters because Kilimanjaro success depends on steadiness, and steadiness is easier when your logistics are handled. If you have ever done a multi-day trek where food quality or camp setup depends on luck, you know how quickly that drains energy.
Where the price can feel tight is where it is not covered: your climbing gear, visas, and tipping. Those add up, and they’re personal choices. If you already own solid hiking boots, layering gear, and a headlamp for a midnight summit start, you’ll feel the price less sharply. If you need to buy everything at the last minute, it can turn into an expensive scramble.
One more value angle: you are described as having a private tour/activity, meaning only your group participates. Even so, the route is popular and you can still encounter a larger number of climbers along the way. In other words, it is private in terms of your group, communal in terms of the mountain.
Who should choose this trek, and who might feel uncomfortable
This trek is aimed at people with moderate physical fitness. That’s a fair match if you can handle day hikes that run around 6 to 7 hours, plus the summit night. What makes the Machame route feel tough is not only distance, it is altitude and the steep sections.
The day that asks the most of your technique is Barranco Wall. If scrambling makes you nervous, tell your guide early. Good guiding is not only about speed, it is about choosing lines and keeping you safe.
If you know you can keep a steady pace, drink water, and follow guide instructions about rest and acclimatization, this setup can work well. If you struggle with anxiety in the dark, plan ahead. The summit starts around midnight and uses a headlamp, so mental prep counts.
Should you book Mountain Warriors for this Machame climb?
I’d consider booking this trek if you want a well-supported Machame route with the basics done right: private tent comfort, purified water, meals, park and rescue fees covered, and a team with a track record of guiding people safely and positively. The repeated praise for Gasto James and the team, especially calm encouragement and summit-day energy, is exactly the kind of support you want when altitude gets loud in your head.
I would not book this one if you are hoping for an easy walk to the top. There are steep climbs, a serious scrambling wall day, and a steep crater-rim ascent at night. This is an achievement trek. Bring realistic expectations, and you’ll enjoy it more.
Before you lock it in, I’d do two quick checks. First, confirm your exact start time and daily schedule with the operator, since the information you receive includes both a 9am departure to Machame Gate and a listed start time of 7:30pm. Second, make sure you have your own climbing gear covered, since that is not included.
FAQ
How long is the Machame route trek?
The trek is listed as 7 days (approx.), with daily hikes ranging around 6 to 7 hours, and a longer summit hike that begins around midnight.
Where does the trek start and how do you get there from Arusha?
You depart Arusha for Machame Gate at about 9am, and the drive takes about 1.5 hours. There are also airport transfers, and pickup is offered.
Is the trek on Kilimanjaro National Park included?
Yes. Park fees are included, and rescue fees are also included.
Are meals included?
Yes. All meals while on the mountain are included, including breakfast, lunch, and dinner across the trek days.
Do you provide drinking water?
Yes. Clean, purified drinking water is provided.
Are tents and camp setup included?
Yes. You get quality, waterproof, private mountain sleeping tents, plus quality mess tents with table and chairs.
What about climbing gear, tipping, or visas?
Climbing gear is not included, tipping is not included, and visas fees are not included.
How hard is the trek physically?
It is designed for travelers with moderate physical fitness. The route includes steep hiking, a Barranco Wall scramble where you may use your hands, and a demanding summit night ascent.
When do you start the summit attempt?
You begin the final ascent to Uhuru Peak around midnight, after starting your summit hike at night.
Can I cancel and get a full refund?
Free cancellation is available up to 24 hours in advance of the experience start time. Cancel at least 24 hours before for a full refund, and within 24 hours there is no refund.
More Machame Departures
- 7-Day Machame Kilimanjaro Summit Tour from Arusha
★ 5.0 · 125 reviews - 6 Days: Hiking Kilimanjaro via Machame Route
★ 5.0 · 24 reviews - 6-Day Guided Tour in Machame Route Mt Kilimanjaro
★ 5.0 · 17 reviews - KILIMANJARO MACHAME ROUTE, (Climb 7days)
★ 5.0 · 16 reviews - 7 days Kilimanjaro climb via Machame route (Whiskey route)
★ 5.0 · 16 reviews
Kilimanjaro, Route by Route
- 8-Day Small-group Lemosho Kilimanjaro Summit Trekking
★ 5.0 · 186 reviews - 7-Day Machame Kilimanjaro Summit Tour from Arusha
★ 5.0 · 125 reviews - Mountain Kilimanjaro Day Hike
★ 5.0 · 102 reviews - 4 days Best experience Kilimanjaro Hike, Serengeti &Ngorongoro
★ 5.0 · 54 reviews - From Arusha/Moshi: Kilimanjaro Hike Marangu Route Day Trip
★ 4.5 · 54 reviews
Just added from around Arusha
Kilimanjaro Machame Route, compared.
 ★ 5.0Kilimanjaro climb, Machame Route (7-day)From $3,377262 reviews
 ★ 5.0Climbing Kilimanjaro – Machame RouteFrom $2,322170 reviews
 ★ 5.0Climbing Kilimanjaro through 7 days Machame RouteFrom $2,425151 reviews
 ★ 5.07-Day Machame Kilimanjaro Summit Tour from ArushaFrom $2,695125 reviews
 ★ 5.07 Days Kilimanjaro via Machame route affordable priceFrom $2,400110 reviews
 ★ 4.2#1. Best Kilimanjaro Day hike Tour-Machame Route-ISMANIFrom $11547 reviews
 ★ 5.07 Days Machame route – KilimanjaroFrom $2,85045 reviews
 ★ 5.0The Best of Machame Route in 6 Days: Your World’s Summit GuideFrom $1,15044 reviews
Browse the lists this tour appears in