
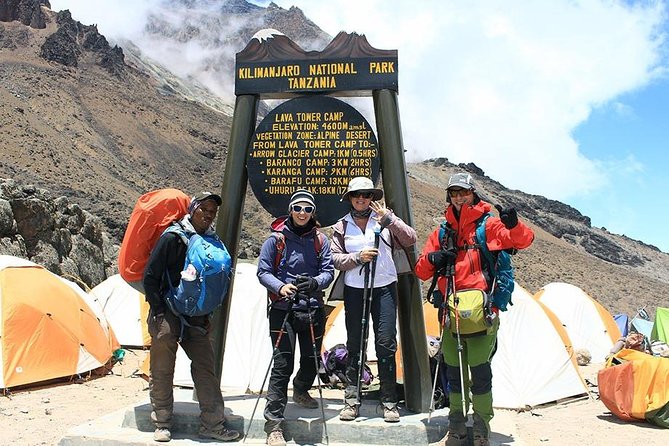
REVIEW · KILIMANJARO MACHAME ROUTE
6-Day Kilimanjaro Machame Route – A Stunning Trek to Uhuru Peak
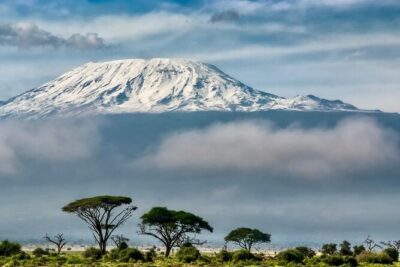
That first view of Kilimanjaro hits hard.
This 6-day Machame Route from Moshi is one of the most scenic ways up, often called the Whiskey Route, because the climb feels like it keeps changing its mind. You start in lush rainforest, move into moorland and alpine desert, then work your way toward Uhuru Peak, with built-in acclimatization to give your body a fighting chance.
I really like how much is handled for you. Hot water for a daily wash, fresh drinking water, and full meals (breakfasts, lunches, dinners) mean you spend less time worrying and more time conserving energy. I also love the human side of the operation, with professional guides such as Justin and Frazier highlighted in past trips, plus a team that includes assistant guides, porters, and a cook.
The main drawback is simple: this is still a serious altitude trek. The summit push starts around midnight and can take 11 to 14 hours total on Day 5, and you should plan for long, cold, physically demanding hours even with a supportive team. Also, while gear rental is available in Tanzania, you will still want to show up with the right basics, and a portable toilet is optional but highly recommended.
In This Review
- Key things to know before you climb the Machame Route
- Why the Machame Route is such a popular Kilimanjaro climb
- The big picture itinerary, what the pacing really feels like
- Day 1: Moshi to Machame Gate, then into the rainforest (Machame Camp)
- Day 2: Shira Cave Camp and the moorland push (Shira Plateau)
- Day 3: Shira to Baranco with Lava Tower country and Shark’s Tooth
- Day 4: Barranco to Barafu Hut, South Circuit views, and summit prep
- Day 5: Midnight climb to Stella Point and Uhuru Peak
- Day 6: Mweka Trail descent, certificates, and back to Moshi
- Price and what you actually get for $2,253 per person
- Guides, hot water, and the small comforts that shape your summit mood
- What to pack and how to prepare for this exact climb
- Who this trek is best for, and who should think twice
- Should you book this Kilimanjaro Machame trek?
- FAQ
- Does this Machame trek include pickup in Moshi?
- What is included in the trek price?
- Is emergency oxygen provided?
- What meals are provided during the trek?
- Do I need my own hiking gear?
- Where does the trek end and how do I get back to Moshi?
Key things to know before you climb the Machame Route
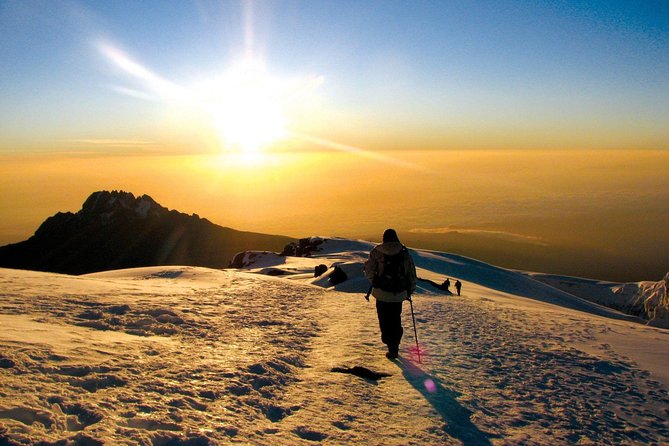
- Rainforest start to alpine desert finish: you change ecosystems over just a few days, which keeps the trek interesting
- A summit plan built around acclimatization: slower days like the Shira Plateau and Barranco help you prepare for Day 5
- Summit night is long: you’ll go from midnight-era starts to Uhuru Peak, then descend to Mweka Camp
- Comfort points matter at altitude: daily hot water, camping setup, and organized meals reduce mental fatigue
- Professional support team included: guides, assistant guides, porters, and a cook are part of what you pay for
- Emergency oxygen is included, but not as summit aid: it’s for emergencies only, and that matters for expectations
Other ways up Kilimanjaro we reviewed
- Kilimanjaro climb by Lemosho Route (7-day)★ 5.0 · 651 reviews
- Kilimanjaro climb, Machame Route (7-day)★ 5.0 · 262 reviews
- Kilimanjaro Climbing Lemosho Route 8 Days.★ 5.0 · 186 reviews
- Climbing Kilimanjaro – Machame Route★ 5.0 · 170 reviews
Why the Machame Route is such a popular Kilimanjaro climb
The Machame Route is famous because it doesn’t feel like one long slog through the same scenery. You get multiple terrain moods, starting from the Machame Gate area and moving upward through rainforest, then out into higher moorland, and finally into the stark alpine desert feel that surrounds the Kibo region.
For me, that variety is more than just pretty photos. When you’re climbing at altitude, boredom can be a silent enemy. Changing scenery and viewpoints helps you stay focused, and you also get more chances to catch clear looks at major landmarks like Mount Meru from higher points.
This trip is also set up to aim for Uhuru Peak with a classic six-day rhythm. It’s not the easiest schedule on Kilimanjaro, but it is a well-known approach when you want a good balance of challenge and acclimatization time.
The big picture itinerary, what the pacing really feels like
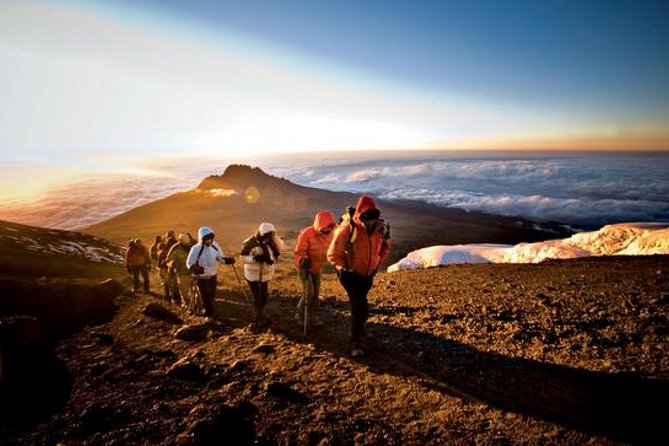
This climb uses a “go up, sleep, and adjust” pattern. Some days you gain a lot of elevation and walk hard. Other days might end near where you started, but those days still matter because your body needs time to adapt.
Here’s the key thing I’d tell you if you want success: treat the middle days as training for your system, not just transportation to the next camp. The climb plan includes time where you do an important acclimatization session, even if the route doesn’t look like a straight climb on paper.
Also note: you’re not just hiking. You’re camping. The quality of camp routines, hot water, and meal timing can heavily influence how you feel the next morning. This itinerary includes fresh water for drinking, daily hot water for washing, and daily meals, which helps keep your morale steady.
Day 1: Moshi to Machame Gate, then into the rainforest (Machame Camp)
Day 1 starts with a drive from Moshi (or Arusha) to the Machame Gate, then your hike begins in the rainforest. You’ll go from about 1,640m to 2,835m, covering roughly 11 km over 5 to 7 hours.
What I like about this start is that it lets you ease into the rhythm. You’re not dropped into summit altitude on Day 1, so you can focus on pacing, staying warm, and getting used to the guide instructions without immediately frying your energy.
You’ll end at Machame Camp for dinner and overnight. One detail that matters at the end of a long first day is that the itinerary includes hot water for washing and structured meals. After hours on the trail, that’s a lot more valuable than it sounds.
More Machame departures, compared
Day 2: Shira Cave Camp and the moorland push (Shira Plateau)
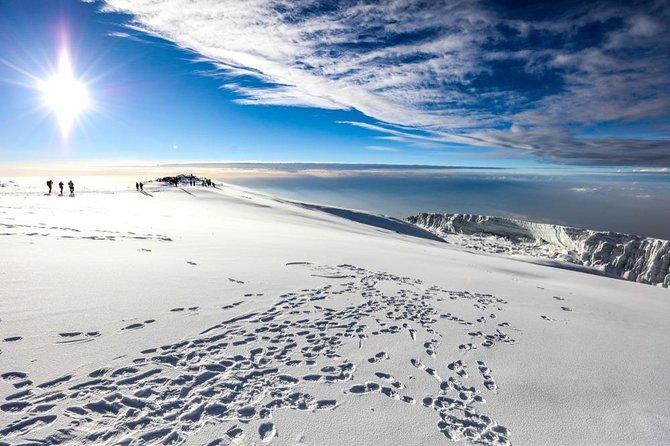
On Day 2, the route pulls you upward out of the forest into steeper terrain and open moorland. You’ll climb from roughly 2,835m to 3,850m, with about 5 km of hiking and 4 to 6 hours on the clock.
A major highlight here is the mix of physical effort and scenery. The route includes crossing streams and gives you views toward Mount Meru and the surrounding valleys when conditions allow. It’s a good day to practice slow steps. Altitude punishes fast walking, especially when you feel okay at first.
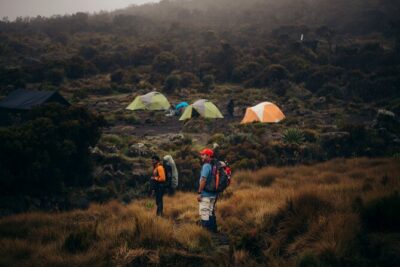
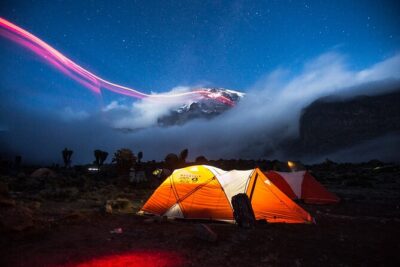
You’ll camp at Shira Cave Camp, on the Shira Plateau, under the stars. This is a “settle in” night. Even if you feel fine, don’t underestimate how your breathing changes at higher elevation.
Day 3: Shira to Baranco with Lava Tower country and Shark’s Tooth
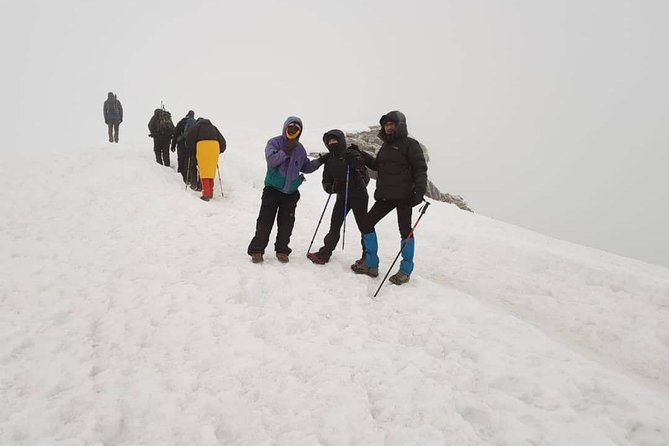
Day 3 is one of the route’s most interesting days because it’s full of acclimatization logic. You’re working at roughly 3,850m to 4,000m, walking around 10 km and 5 to 6 hours.
After leaving Shira Plateau, you’ll climb east up a ridge and start heading toward the Kibo side. The route direction shifts toward the Lava Tower, nicknamed Shark’s Tooth at about 4,650m. Shortly after the tower, you reach another junction that can point you toward the Arrow Glacier area, and then the day angles down to Baranco Camp.
Even though you end the day around a similar elevation you started, that “up then down” pattern is exactly what you want for acclimatization. It teaches your body how to work at altitude without constantly increasing stress.
One practical tip: this is where your water and warm layers really earn their keep. With temperatures changing throughout the day, I like to keep my system simple, warm hat and gloves accessible, and extra clothing packed in a way you can reach without a whole camp archaeology project.
Day 4: Barranco to Barafu Hut, South Circuit views, and summit prep
Day 4 is a long, serious trekking day. You’ll go from Barranco Camp to the Barafu Hut area, moving through alpine desert terrain. The elevation range is listed as 13,000ft to 15,000ft, and you’ll hike about 9 km for 7 to 9 hours.
This is where the climb begins to feel like “real altitude climbing.” You pass the Barranco Wall, then move through the Karanga Valley campsite before hitting the junction that connects with the Mweka Trail. Eventually you reach Barafu Hut, where you make camp and rest for the summit push.
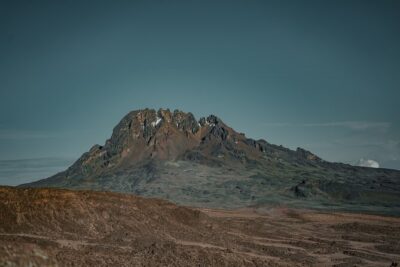
A huge advantage of this day is the viewpoint. Once you’re at Barafu, you’ve effectively completed the south circuit and you get many angles on the summit region, including seeing Mawenzi and Kibo. That helps your brain understand what you’re chasing, which matters when Day 5 turns into a long test of endurance.
This is also your best day to focus on recovery. Eat what you can, drink what you can, and treat sleep like part of the climb, not something you do after you’re done.
Day 5: Midnight climb to Stella Point and Uhuru Peak
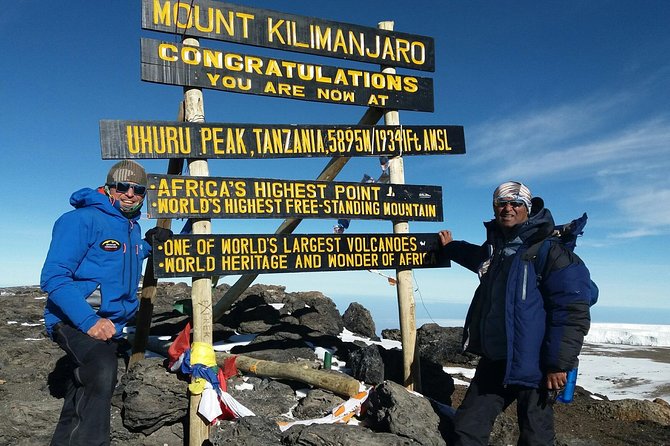
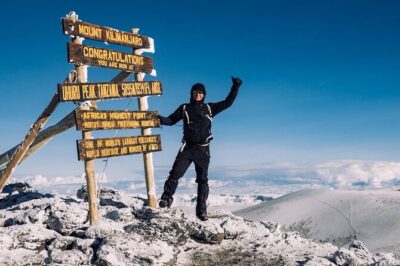
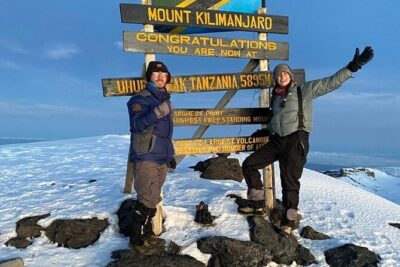
Day 5 is the big one. The schedule starts around midnight with a push to Stella Point at about 5,756m, then you continue on to Uhuru Peak, the highest point in Africa.
The trek time is listed as 12 hours and the route covers a long distance by mountain standards, around 17 km total. Real talk: this day is mentally and physically demanding, even if you’ve been feeling strong in camp.
You’ll celebrate on Uhuru Peak, then descend to Mweka Camp for your last night on the mountain. Descending sounds easier, but it can still be brutal on legs and knees, especially with cold feet and tired muscles.
What I’d recommend to you here is to plan your energy like you’re budgeting cash. You cannot spend effort on panic. Trust the pace your guides set, keep moving steadily, and focus on breath control. Cold air and fatigue can trick you into thinking you need faster steps to catch up, but slower, steadier motion usually works better.
Day 6: Mweka Trail descent, certificates, and back to Moshi
Day 6 is all about getting down safely. You’ll descend from about 3,090m to 1,680m along the Mweka Trail, hiking about 10 km for 3 to 4 hours.
After breakfast, you continue down to the Mweka Park Gate to receive your summit certificates. Below treeline, it can get wet and muddy, and this part of the journey is where gaiters and trekking poles can make a real difference. Shorts and t-shirts might be fine lower down, but keep rain gear and warmer layers handy because weather on Kilimanjaro can shift fast.
From Mweka Village, a vehicle meets you and drives you back to your hotel in Moshi, about 30 minutes. This is one of those endings that feels surprisingly emotional. You’re tired, yes, but you also feel the relief of real ground-level comfort again.
Price and what you actually get for $2,253 per person
At $2,253 per person, you’re not paying just for a guide walking next to you. This itinerary includes a lot of the costly and operational stuff that independent travelers often forget to budget.
Included highlights:
- All fees and taxes
- Return transfers between Kilimanjaro airport and Moshi, plus Moshi to the airport
- Emergency oxygen (explicitly for emergencies only) and a basic first aid kit
- Qualified mountain guide, assistant guides, porters, and cook with wages covered
- Camping equipment like tents, camp chairs, tables, and sleeping mattress
- Fresh water for drinking and hot water for a wash daily
- Meals across the trek: 5 breakfasts, 6 lunches, and 5 dinners
Not included (things that can matter for your total budget):
- visas and flights
- travel and health insurance
- personal hiking gear (though you can rent gear in Tanzania)
- optional but highly recommended portable toilet
- personal medicine and water purifying tablets
- gratuities or tips
My honest take on value: the price is most worth it if you want a smooth, supported trip with camp comfort, meals, and equipment handled. If you already plan to bring all gear, do your own transfers, and manage every logistical step, you could piece things together for less. But most first-time Kilimanjaro climbers end up spending money and time anyway, because the mountain environment is unforgiving.
Guides, hot water, and the small comforts that shape your summit mood
The quality of a Kilimanjaro team is not a luxury. It affects how safe you feel, how well you acclimatize, and how well you recover each night.
From past experience with this kind of operation, the two comforts that consistently change the mood are hot water and disciplined camp organization. Hot water for a wash every day may sound small until you’re cold, sweaty, and dragging your last motivation from the day. It helps you feel human again.
The team structure is also important. You have a qualified mountain guide, assistant guides, and porters plus a cook. That matters because you rely on them for pacing guidance, meal timing, and camp setup so you can focus on walking and rest.
Also, I’d take one practical note from traveler feedback: airport paperwork can be messy when PCR or health documentation rules are changing. If you have any required documents for entry, I’d ask your local representative to stay close by until you’re through the entry process, so nothing gets stalled at the last minute.
What to pack and how to prepare for this exact climb
Because personal gear is not included, you’ll want to plan for rentals or bring your own. The itinerary suggests gaiters and trekking poles for the muddy lower descent on Day 6, and it also implies you might wear shorts and t-shirts at lower elevations, but you should keep both rain gear and warmer clothing available.
Your preparation should match the itinerary’s effort profile:
- expect rainforest-to-alpine weather changes across days
- plan for a midnight-era summit push
- anticipate cold at altitude and possible wet or muddy conditions during descent
Fitness-wise, the tour is listed for travelers with moderate physical fitness. That doesn’t mean “easy.” It means you should be able to handle hours of uphill walking, then keep doing it day after day, without needing to race.
Who this trek is best for, and who should think twice
This is a strong fit if you want:
- a classic Kilimanjaro route with scenic variety from rainforest to alpine desert
- a schedule that includes acclimatization time, not a rushed climb
- organized camping, meals, and daily hot water, so you’re not managing everything yourself
It may be a tougher fit if:
- you have trouble with long, cold nights and very early starts
- you expect a short walk to the top rather than a full endurance effort
- you don’t want to plan gear, layers, and basic health supplies like personal medicine and water treatment
If you’re the kind of traveler who likes authenticity and process, this route rewards you. If you want comfort-only travel, this is not that.
Should you book this Kilimanjaro Machame trek?
My take: book it if you want a well-structured Machame climb with support, camp comfort, and a real attempt at Uhuru Peak. The inclusion list is what makes the price feel logical, especially the transfers, camping equipment, meals, daily hot water, and emergency oxygen.
Think twice if you dislike hard physical days, especially the Day 5 summit night. Also budget a little mental energy for personal items that are not covered, like portable toilet planning, basic medicines, and any water treatment supplies you prefer.
If you do book, my strongest advice is to take the middle days seriously. The summit is not just about willpower. It’s also about how well you acclimatize on Day 2 and Day 3, and how carefully you rest and prepare on Day 4.
FAQ
Does this Machame trek include pickup in Moshi?
Yes. Pickup is offered, and the start meeting point is Moshi Urban, Tanzania. The trip ends back at the meeting point.
What is included in the trek price?
The package includes all fees and taxes, return transfers between Kilimanjaro airport and Moshi, emergency oxygen (for emergencies only) and a basic first aid kit, qualified guides plus porters and cook with wages, camping equipment, fresh drinking water, hot water for a daily wash, and meals (5 breakfasts, 6 lunches, 5 dinners).
Is emergency oxygen provided?
Yes. Emergency oxygen is included, and it is for use in emergencies only, not as summit aid.
What meals are provided during the trek?
You’ll get 5 breakfasts, 6 lunches, and 5 dinners during the 6-day itinerary.
Do I need my own hiking gear?
Personal hiking and trekking gear is not included, but you can rent gear from an equipment store in Tanzania. Gaiters and trekking poles are recommended for the muddy descent on Day 6.
Where does the trek end and how do I get back to Moshi?
On Day 6, you descend to Mweka Park Gate for summit certificates, then continue to Mweka Village. A vehicle meets you at Mweka Village to drive you back to your hotel in Moshi, about 30 minutes.
More Machame Departures
- Kilimanjaro climb, Machame Route (7-day)
★ 5.0 · 262 reviews - Climbing Kilimanjaro – Machame Route
★ 5.0 · 170 reviews - Climbing Kilimanjaro through 7 days Machame Route
★ 5.0 · 151 reviews - #1. Best Kilimanjaro Day hike Tour-Machame Route-ISMANI
★ 4.2 · 47 reviews - 7 Days Machame route – Kilimanjaro
★ 5.0 · 45 reviews
Kilimanjaro, Route by Route
- Kilimanjaro climb by Lemosho Route (7-day)
★ 5.0 · 651 reviews - Kilimanjaro climb, Machame Route (7-day)
★ 5.0 · 262 reviews - Kilimanjaro Climbing Lemosho Route 8 Days.
★ 5.0 · 186 reviews - Climbing Kilimanjaro – Machame Route
★ 5.0 · 170 reviews - Climbing Kilimanjaro through 7 days Machame Route
★ 5.0 · 151 reviews
Just added from around Moshi
Kilimanjaro Machame Route, compared.
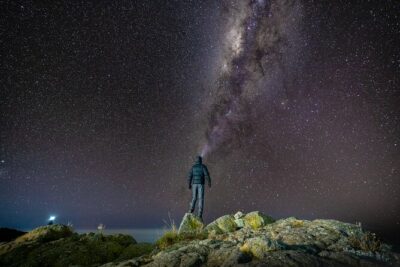 ★ 5.0Kilimanjaro climb, Machame Route (7-day)From $3,377262 reviews
 ★ 5.0Climbing Kilimanjaro – Machame RouteFrom $2,322170 reviews
 ★ 5.0Climbing Kilimanjaro through 7 days Machame RouteFrom $2,425151 reviews
 ★ 5.07-Day Machame Kilimanjaro Summit Tour from ArushaFrom $2,695125 reviews
 ★ 5.07 Days Kilimanjaro via Machame route affordable priceFrom $2,400110 reviews
 ★ 4.2#1. Best Kilimanjaro Day hike Tour-Machame Route-ISMANIFrom $11547 reviews
 ★ 5.07 Days Machame route – KilimanjaroFrom $2,85045 reviews
 ★ 5.0The Best of Machame Route in 6 Days: Your World’s Summit GuideFrom $1,15044 reviews
Browse the lists this tour appears in